How to mic hi-hat & cymbals
Guidelines for miking a hi-hat.

This article will give you guidelines on close miking a hi-hat. It will discuss the best type of microphone for the job, suitable placement options and mounting tips.
Please remember that great sound is subjective and the miking methods described in this article are suggestions only. Try these methods out, but make sure to listen and choose the best solution for your specific situation.
Close miking an instrument is often considered to be a compromise to the instrument’s true acoustic sound. An instrument’s sound is usually designed to be experienced at a distance so that all the different elements of the sound are naturally blended into perfect harmony. Yet often, mounting a microphone directly on the instrument is the most practical solution.
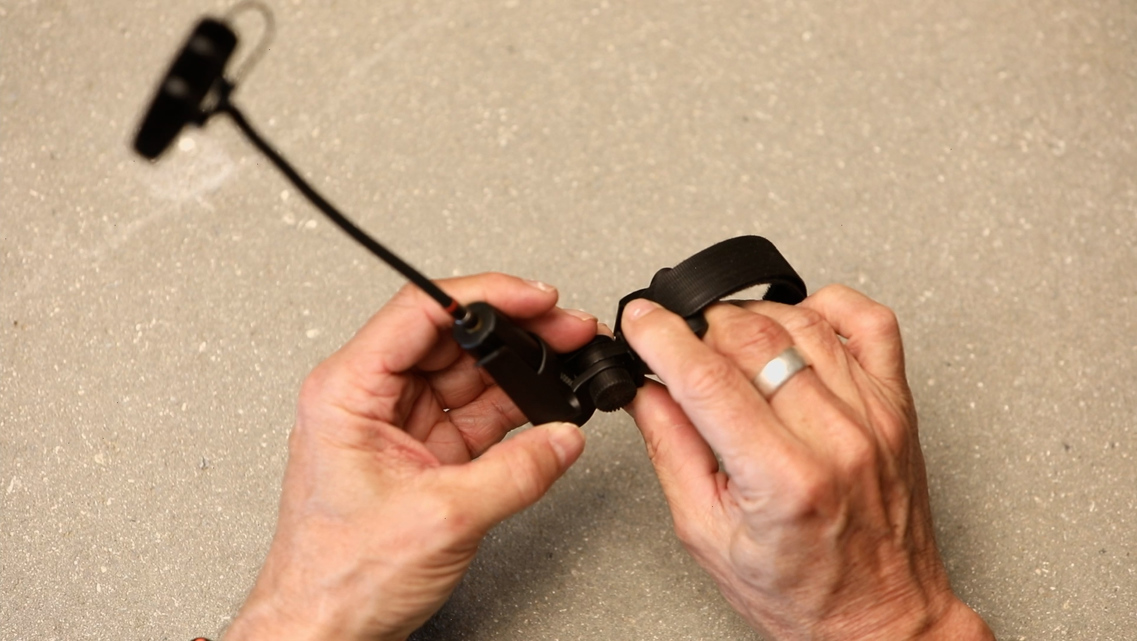
Finding and placing the microphone in the instrument’s sweet spot – or your preferred location, can be a challenge. Keeping it there can be even more challenging, especially if the instrument is moved. For this reason, close miking requires a dependable mounting solution.
The instrument
The hi-hat is a combination of two cymbals and is played either with the foot or with the sticks, brushes or mallets. Originally the hi-hat (also called sock cymbal) was positioned extremely low (30 cm above the ground) and only played with the foot, playing the role of the orchestral or marching band style cymbals.
The two cymbals are rarely identical – their thickness and weight are usually different. Normally, a heavy cymbal is at the bottom and a lighter one on top. Also, the different types of hi-hats apply to different musical genres. In general terms, the heavier and/or thicker the cymbals, the more they are suited for rock and hard rock.
As with other cymbals, the lower frequencies are mostly represented at the edge of the cymbals; the high overtones are towards the center of the cymbal. Usually, it is also preferred to have a good stick attack, which is best captured around the spot, where the drummer hits the hi hat with the stick (usually around 2-3 cm (1 inch) from the edge). If the hi-hat is miked from the bottom side, there will be a loss of stick attack and the warmer tones of the top cymbal will be attenuated.
There are a few things to keep in mind when miking a hi-hat. Though you might think that the hi-hat only produces bright, high frequencies, there are as much low- and mid-range frequencies represented in the instrument. From a distance, the hi-hat will sound clear and "lo-less", but when you move closer you will hear a lot of low- and mid-tones. When you move the two hi-hat cymbals together there’s a lot of air pressure moving out from the sides and any microphone placed there will only pick up the classic wind pop and result in poor pickup quality.
Usually, bleed from the rest of the drum kit is also picked up at the hi-hat position so it’s crucial that these things are taken into consideration.
Hi-hat mic placement
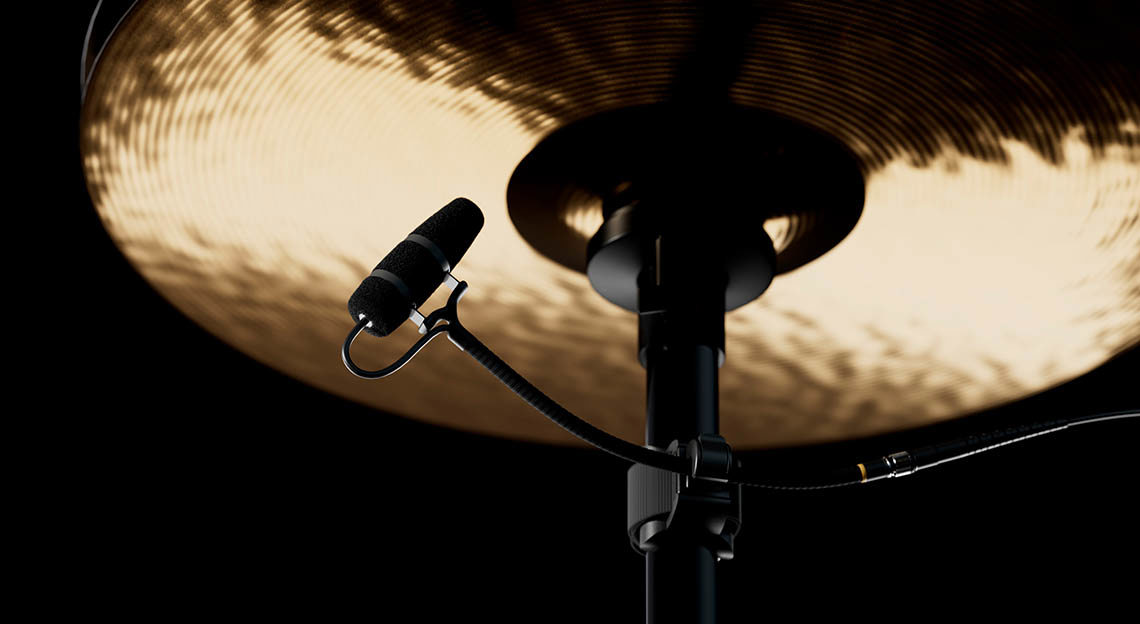
Position your microphone at an angle where you can’t see the snare drum and place the microphone 5-10 cm from the top of the hi-hat cymbal. In this way you will minimize the pickup of bleed from the snare and the rest of the drum kit.
Consider angling the microphone away from the drum kit, so the less sensitive side of the microphone is picking up the reflections.
DPA's solutions for cymbal mics
For an isolated, non-bleed close-mic setup, choose a microphone with a cardioid or supercardioid pickup pattern and bear in mind that the hi-hat has extremely fast transients; so, a good condenser microphone like the 4011 Cardioid Microphone, the 2012 Cardioid Microphone or the 4099 CORE+ Instrument Microphone would all be a great choice.
The 4099 CORE+ can be mounted underneath the hi-hat using the universal U-CLIP Universal Microphone Clip.


