Wisycom
How to mic a violin
Guidelines for miking a violin
Please remember, great sound is subjective and the miking methods described in this article are suggestions only. Try these methods out, but make sure to listen and choose the best solution for your specific situation.
Close miking an instrument is often considered to be a compromise to the instrument’s true acoustic sound. An instrument’s sound is usually designed to be experienced at a distance so that all the different elements of the sound are naturally blended into a perfect harmony. Yet often, mounting a microphone close to or directly on the instrument is the most practical solution.
Finding and placing the microphone in the instrument’s sweet spot – or your preferred location, can be a challenge. Keeping it there can be even more challenging, especially if the instrument is moved. For this reason, close-miking requires a dependable mounting solution.
The instrument
The violin is considered to be a high-pitch instrument and it is the smallest in the violin group. The radiation pattern is very complex and it might require some experimenting with the microphone placement to find the desired sound. The overtones and many fine details of the violin require a microphone that handles high frequencies and has a high-level of accuracy as well.
Microphone positioning
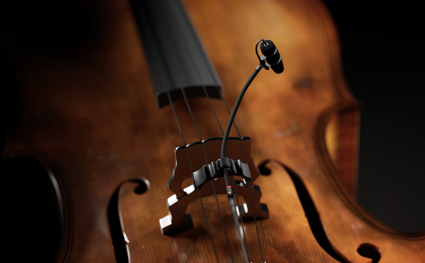
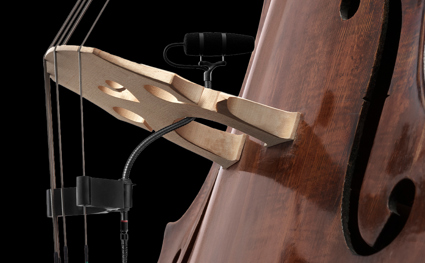
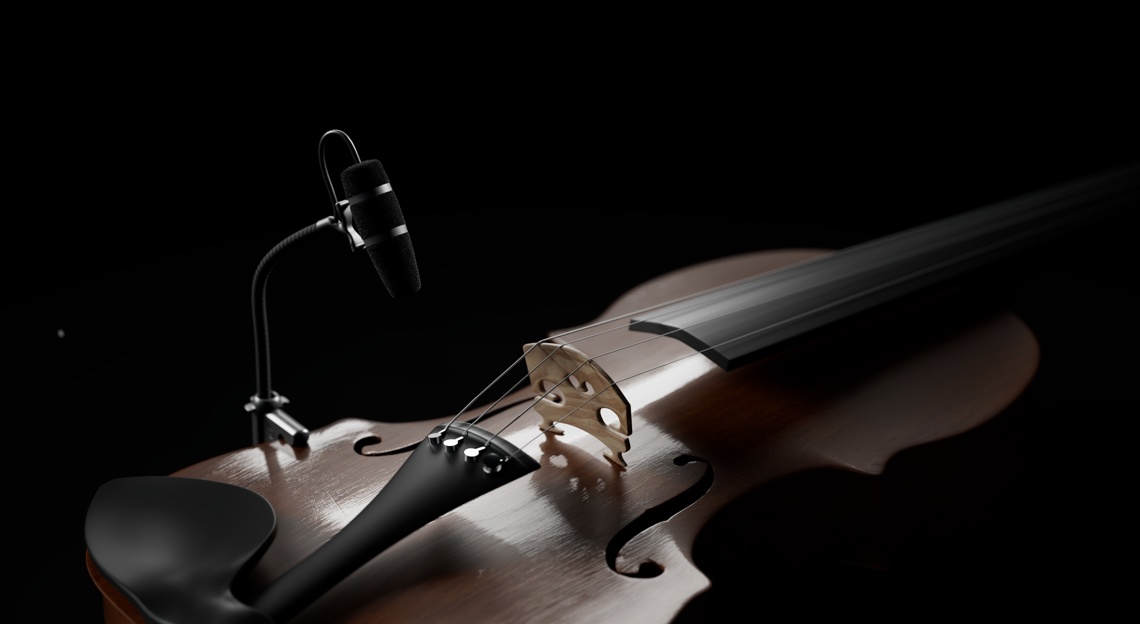
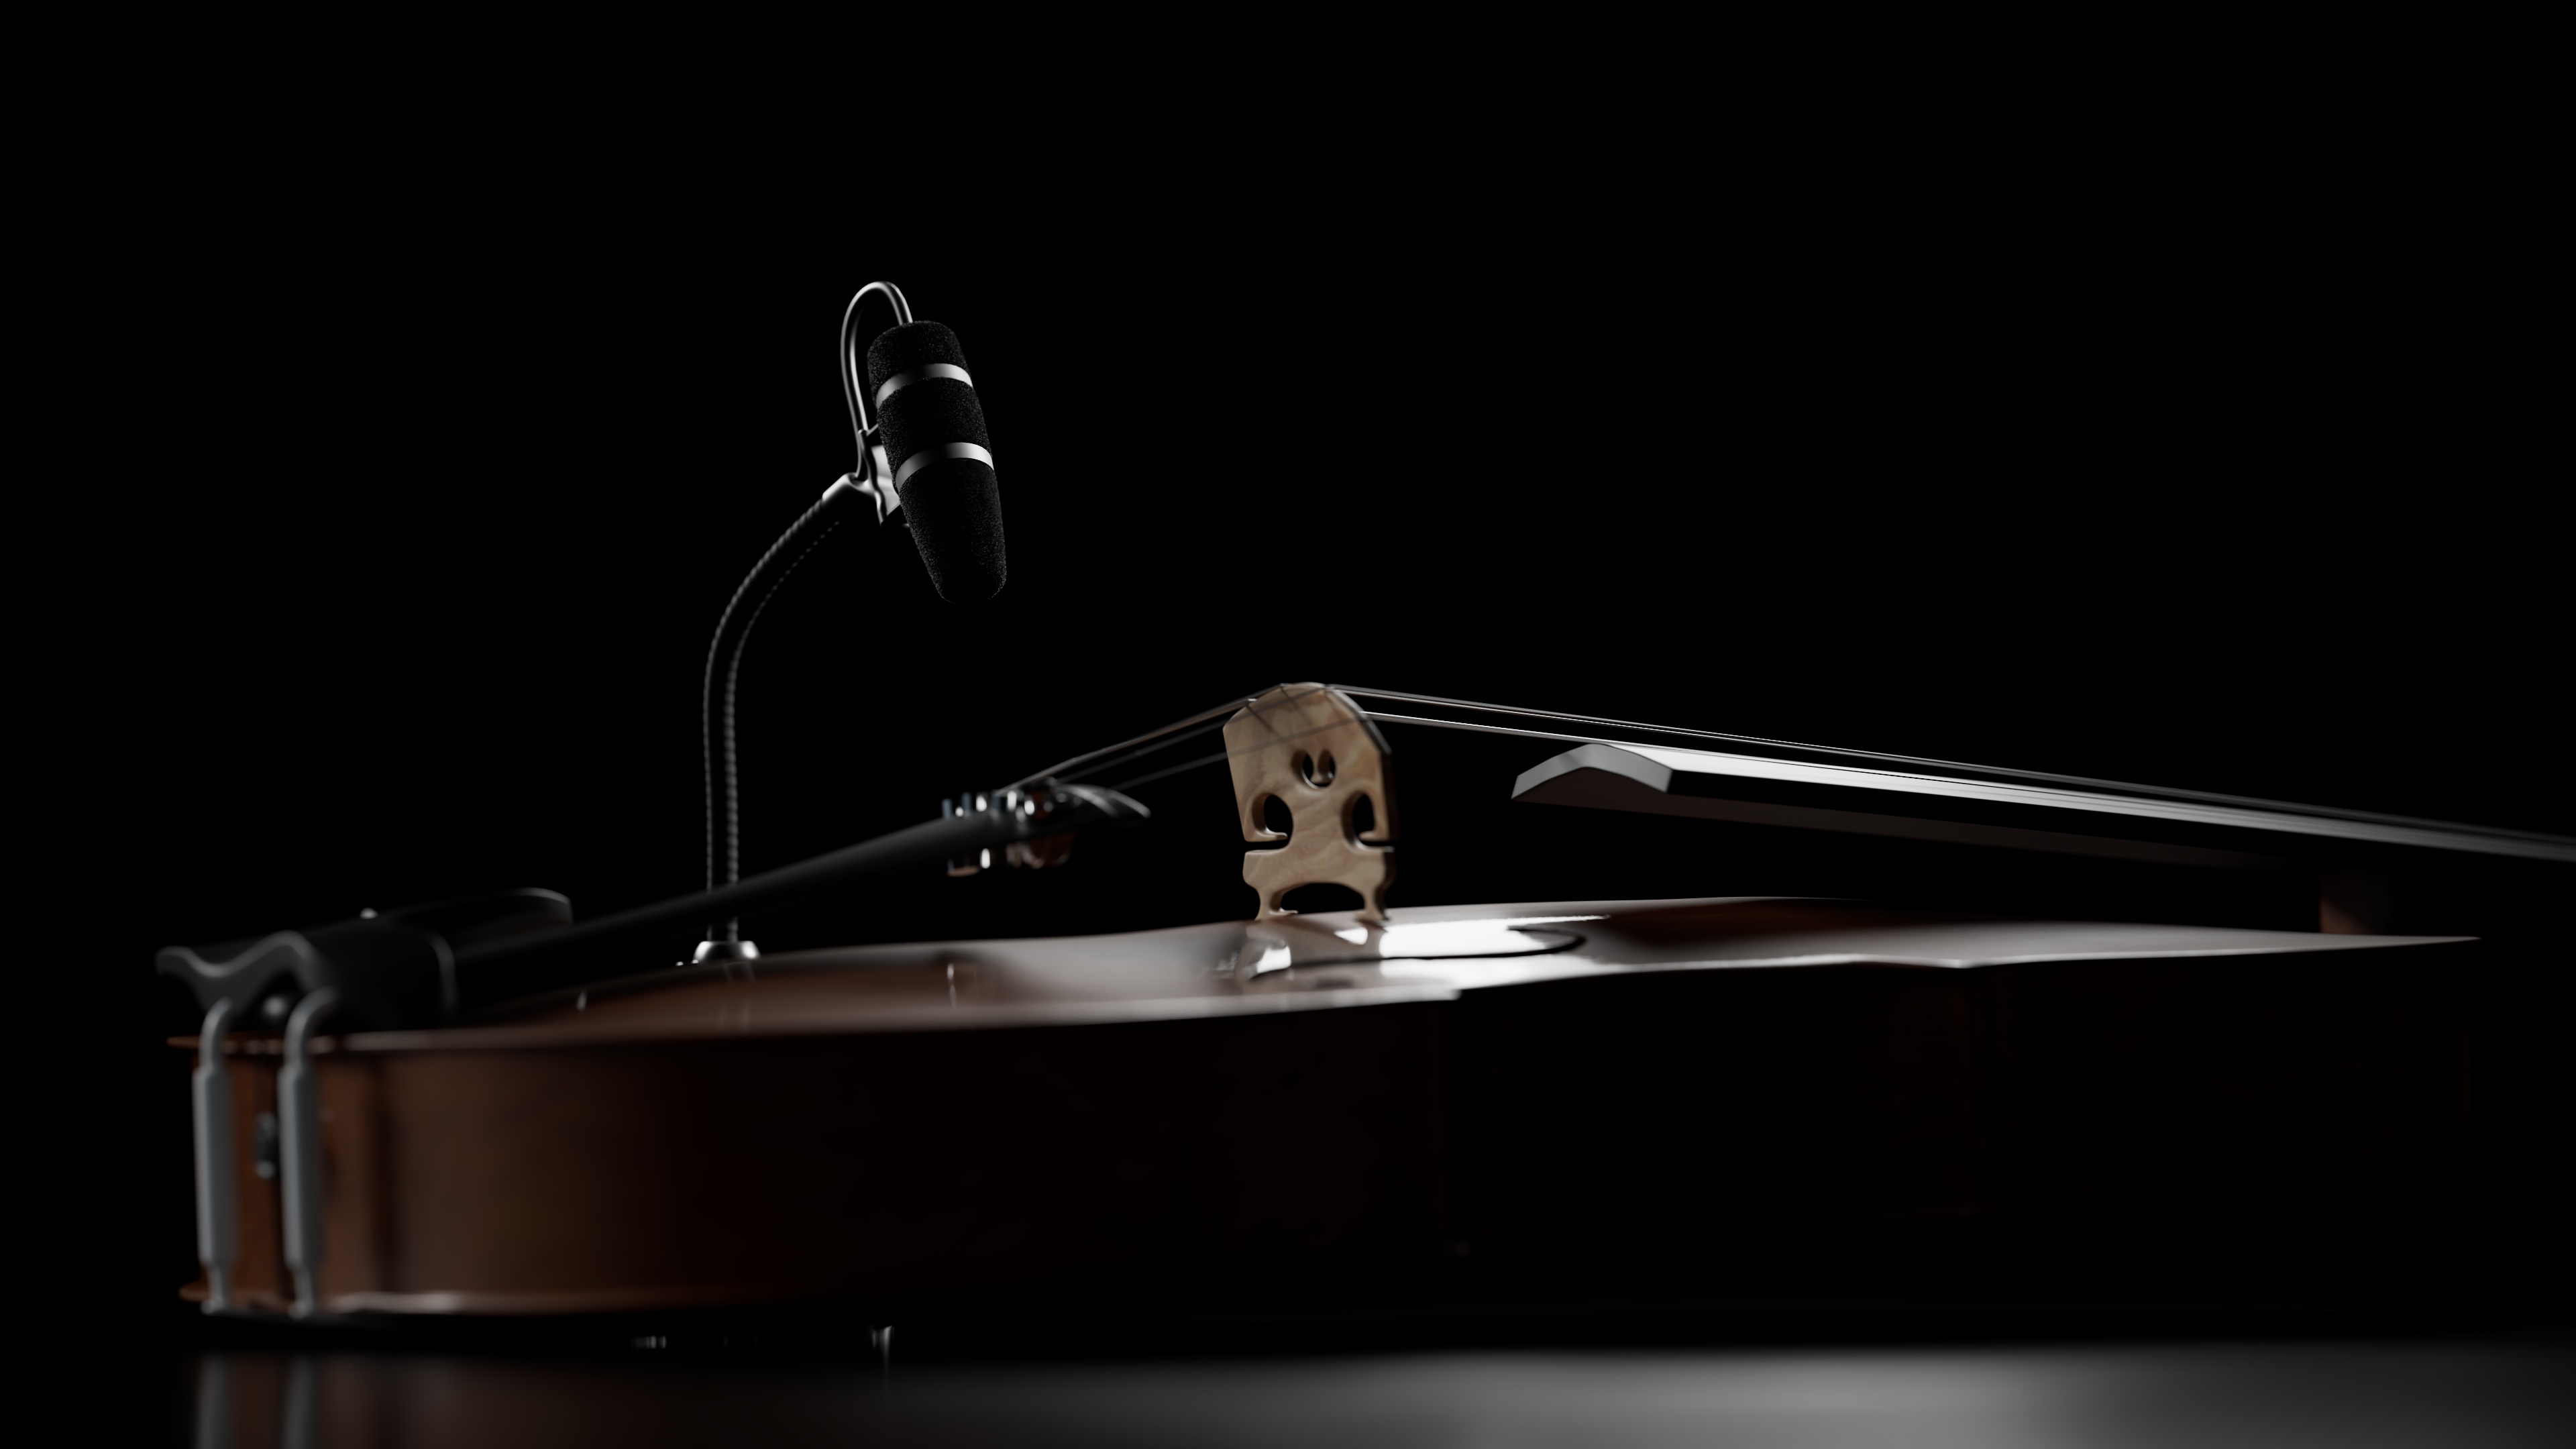
The spot under the bridge, between the strings and the deck, is a good position to mount a mic. This position represents many of the elements of the violin sound we want to capture – the sound of the soundboard as well as ‘bite’ when the strings are plucked or bowed. This placement can appear to be too “harsh” but offers a unique combination of natural string sound as well as high audio separation onstage.
Types of microphones
Omnidirectional (pressure) microphones have the great advantage of picking up sound evenly from all directions (although some “omnidirectional” microphones are slightly directional at the highest frequencies). Using an omnidirectional microphone is appropriate when you want to pick up the full sound of the instrument and you can maneuver it (using a gooseneck) a short distance away from the instrument.
Using an omnidirectional microphone – like the 4006ES Omnidirectional Microphone or the 4061 Miniature Omnidirectional Microphone – allows you to pick any one place, close to the instrument. If you use a gooseneck, you can place the mic a short distance from the instrument if you prefer. Using an omnidirectional microphone ensures the sound will not lack low-frequency due to the proximity effect as when using directional microphones. Proximity effect is an increase in bass or low-frequency response when a sound source is close to a directional microphone.
Using a directional microphone like the 4099 CORE+ Instrument Microphone or the 4011ES Cardioid Microphone has the advantage of being able to focus on the sound of the key instrument, isolating it from surrounding sound sources, such as other instruments onstage or the PA system. On the other hand, directional microphones suffer from the proximity effect and therefore require more adjustment to find the preferred position. Moving the microphone close to the instrument will increase the low-end response, which might be desirable.
Bear in mind that the soundboard of even a relatively small violin reacts as a reflective surface. The incoming sound from other sources (instruments, PA system) might reflect off it and enter the microphone from the front even if the microphone is pointing away from the source.
Mounting the microphone
All of the above-mentioned microphones can be placed either on a microphone stand or directly on the violin using the appropriate microphone mount.
A great close-miking mount is the VC4099 Clip for Violin, which is sturdy and made to stay in place in almost any position. It fits over the edge of the violin and can be adjusted to reach across many widths of violins due to its flexible design. The clip works together with a number of our goosenecks allowing you to not only place the microphones according to your taste but also taking the application and the surrounding noise into consideration. The goosenecks are extremely flexible and can be slightly bent in order to position the microphone as needed.
Tip: If you prefer more volume from the violin, positioning the mic closer to, or pointing at, the F-hole, is ideal. This can be done by bending the gooseneck horizontally toward the F-hole.
The VC4099 Clip for Violin works with the GSM4000 Gooseneck Shock Mount, the GM1600 Gooseneck Mount for miniature mics and the 4099 CORE+ Instrument Microphone.