Wisycom
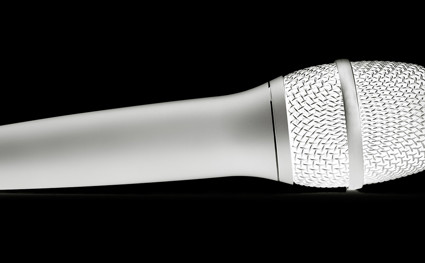
How to test the performance of a microphone
When performing a practical test of a microphone be sure to get manufacturers info about specifications and applications. Besides the reading, it is a good idea to compare against a known reference, for instance, a measurement microphone with a linear response, for example the 4006A Omnidirectional Microphone.
To perform the comparison, place the reference microphone as close as possible to the microphone being tested. Test with a voice and musical instruments as sound sources and make sure to check both on-axis and off-axis response.
Start your test around 30 cm (1 ft) from the microphones on axis. Then move off-axis to check any coloration; for instance, 45° to the side followed by 45° up. Include both a close-up test (checking for pop-noise and proximity-effect) as well as an ambience test 3-4 meters (10-12 ft) away. Finally, make an 180° test at 3-4 meters to verify the coloration and attenuation from the rear.
Normally the manufacturer encloses a product description with the microphone. It is a good idea to read the description carefully and prepare a focused test of the manufacturer's listed features and the product specifications. Make sure you are using the product for an appropriate application. If no graphs or curves are enclosed with the literature, do not hesitate to contact the manufacturer for this information.
Choosing a reference microphone for the test
The reference microphone used is often selected for more personal reasons rather than for scientific / application comparability. Make sure the manufacturer has informed you about the purpose, application and characteristics of the test microphone and then choose the most appropriate microphone according to the application.
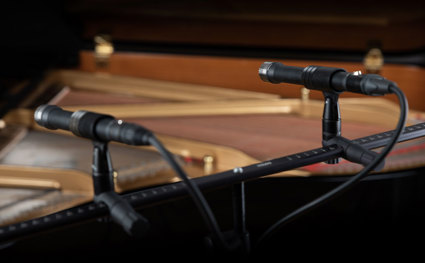
A more scientific approach is also to use a true reference microphone i.e. a measurement microphone, such as a 4006A Omnidirectional Microphone.The probe-like design of these microphones enables them to be positioned extremely close to the test microphone without any influence on the sound field. Furthermore, these microphones have totally linear frequency and phase response, which helps you to "calibrate" your ears in between listening to other microphones.
Positioning the test and reference microphones
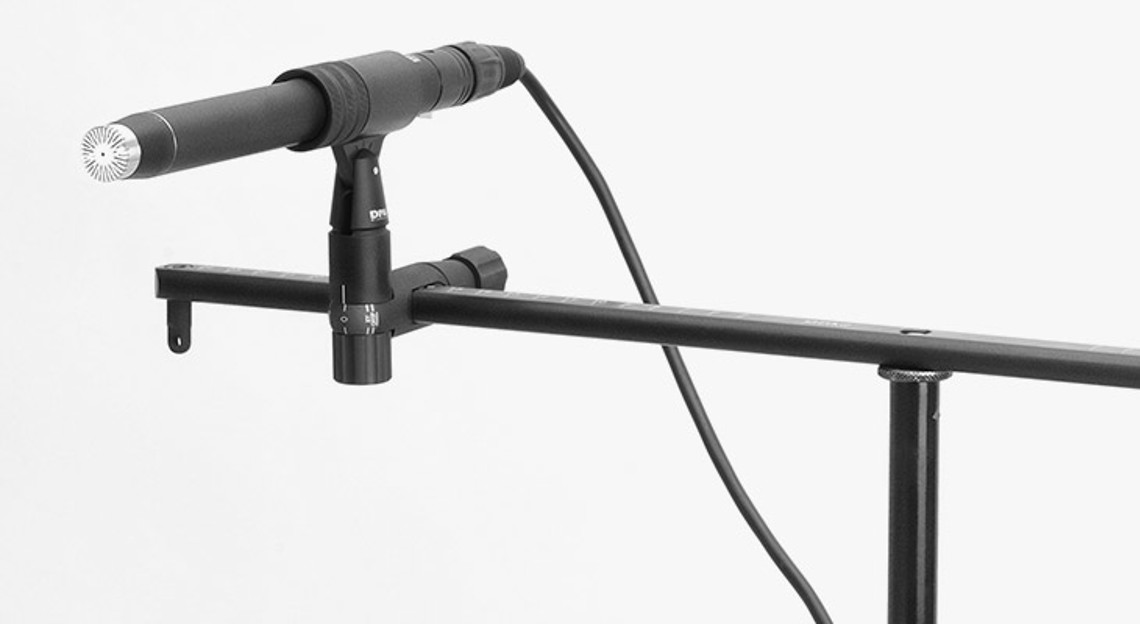
It is important to bear in mind that the acoustic memory of the human being is only a few seconds, which leads to the so-called simultaneous AB test, or ABC test if considering more microphones. The microphones need to be present simultaneously, picking up the same sound source. You need to align the test and reference microphones bringing the diaphragms as close to the same point as possible. Note that the distance to the sound source needs to be at least four (4) times greater than the maximum distance between the centers of the microphone diaphragms. Some microphone housings and bodies are quite bulky. Use one microphone stand for each microphone in the set-up to find a position, which ensures a minimum influence on the acoustic field around the diaphragms from the more bulky microphone bodies. Do not hesitate to use a pop filter if you intend to test the microphone with vocals, but use one pop filter only.
Testing microphones with vocals
The most frequent tests of studio microphones utilizes vocals as a test signal, however, do not hesitate to use more complex sound sources like guitar, piano, and wind or percussion instruments to spice up your evaluation. Most microphones have a decent on-axis response, and you are only able to evaluate the actual quality of a microphone if you also test its off-axis qualities. Musical instruments are extremely qualified sound sources for testing both the on- and off-axis qualities of microphones simultaneously, but you can also get a good idea of the microphone's performance when using speech or singing using the following procedure. Make sure the headphone feed is from one microphone only, as it could otherwise influence the vocalist's performance.
Reference position
Test at 30 cm (1 ft), which is more or less the normal distance to a studio microphone when used for vocals. Adjust the sensitivity of test and reference microphones to the same level using voice or tone generation as the sound source, double-checking the levels with the peak meters in the console. Make sure that all equalizers are bypassed or in a neutral position. Select the microphone you want to listen to by using the Mute /Unmute on the console - not by using the faders. If you send a feed to the vocalist's headphones, the Mute function also mutes the Aux Sends on most consoles, in these cases find alternative ways to switch the MUTE function on, again not using the faders (i.e. using the L+R routing function).
In the reference position, you probably have some preference of what an uncolored voice should sound like. Here, a directional microphone (i.e. a cardioid, supercardioid or a figure-of-eight microphone) will normally exhibit no or very little proximity effect. The weighting of the lower frequencies can, therefore, be expected to be neutral if you are testing a directional microphone. An omnidirectional microphone does not exhibit proximity effect, regardless of the distance, but use this distance as reference anyhow. The reference position helps you to discover any unwanted off-axis coloration when you move around the microphone later on. Return to the reference position as often as you like during the test to calibrate your ears.
Off-axis coloration test
Test at 30 cm (1 ft) 45° off-axis to the side. It is tough to design studio microphones with no off-axis coloration characteristics, especially directional microphones. However, the off-axis qualities of a microphone are of the utmost importance if the aim is a clear and transparent recording. Off-axis sounds are allowed to be attenuated (on directional microphones). An increased attenuation of the higher frequencies can also be expected in cases of larger diaphragms, but an off-axis comb-effect (curtain effect) is definitely unwanted.
Off-axis coloration test #2
Test at 30 cm (1 ft) 45° off-axis to the side. If the test microphone has a bulky design and is not rotationally symmetrical, this test will reveal any unsymmetrical coloration that might occur. "Up" means talking / singing into the microphone in an angle from the top of the protection grid provoking a sonic reflection from the base of the cartridge where the capsule is connected to the preamplifier housing – the bottom of the cartridge chamber. A microphone, which exhibits unsymmetrical off-axis coloration, has an extremely limited applicability and is not suitable for more demanding recordings like ambience or suchlike.
Proximity effect and pop-noise test
Test at 3 cm (1 in) on axis. If the test microphone is a directional microphone, this close-up test gives you a picture of the microphone's sensitivity to pop noises even when using a pop screen. In this position, you can also expect an extreme amount of enhancement of the lower frequencies due to the proximity effect of a directional microphone. In cases of some male voices or rock 'n roll bass drums this effect might be something you are looking for, but normally the proximity effect is an unwanted side effect – or at least something you try to use as discretely as possible. Omnidirectional microphones do not suffer from the proximity effect, and you should not be able to hear any coloration of the lower frequencies when moving close to one. Furthermore, omnidirectional microphones are less sensitive to pop noises than their directional counterparts. Shouting into the microphone at a close range reveals any possible limitation of the dynamic range of the microphone. Make sure that it is not your console or microphone amplifier that is the limiting factor in this test.
Ambience test
Test at 3-4 m (10-13 ft) space allows. This is an ambience test, where you move as far away from the microphone as possible. Directional microphones again reveal their unwanted proximity effect and now sound thin with a severe bass roll-off. Omnidirectional microphones do the job better and keep an uncolored response. The amount of sonic reflections from the walls of the recording room now creates a complex sound field at the diaphragm, and the true directional quality of the microphone reveal itself. Here it is important to cross-reference with the probe-like reference microphones.
Front-to-back attenuation and coloration test
Test at 30 cm (1 ft) off axis. The reason for designing a directional microphone is, of course, to attenuate sounds from unwanted directions. To get a good front-to-back attenuation on a cardioid microphone is quite difficult and to obtain a perfect polar pattern on an omnidirectional microphone is also quite an achievement. Talking / singing directly into the microphone from behind helps you to discover any possible unwanted back loops of the directional polar pattern or, if an omnidirectional mic is used, any unwanted coloration of the sound besides for the expected attenuation of higher frequencies.
Handling noise
Double check the sensitivity adjustment on test and reference microphones to make sure that the levels are identical. Tap and / or rub the microphones (including the reference microphones) on the preamplifier housing and / or on the microphone stand to get an idea of the microphone's sensitivity to handling noise. Generally, you will find that a directional microphone is more sensitive to handling than an omnidirectional one.