Proper microphone hygiene
Keep your mic clean and fresh
A microphone is used in many ways and often changes hands regularly. Some mics are mounted in the ceiling or on an instrument but most often, mics are held in hand or mounted on the body. In these cases spit, sweat and skin leave traces on the microphone and cables. So how can you keep your microphones clean?
Below are some guidelines that you can follow to keep your microphones in great working order and make sure they are hygienic for users. Remember, the most effective way to keep everyone around you healthy and happy is to practice good hand hygiene.
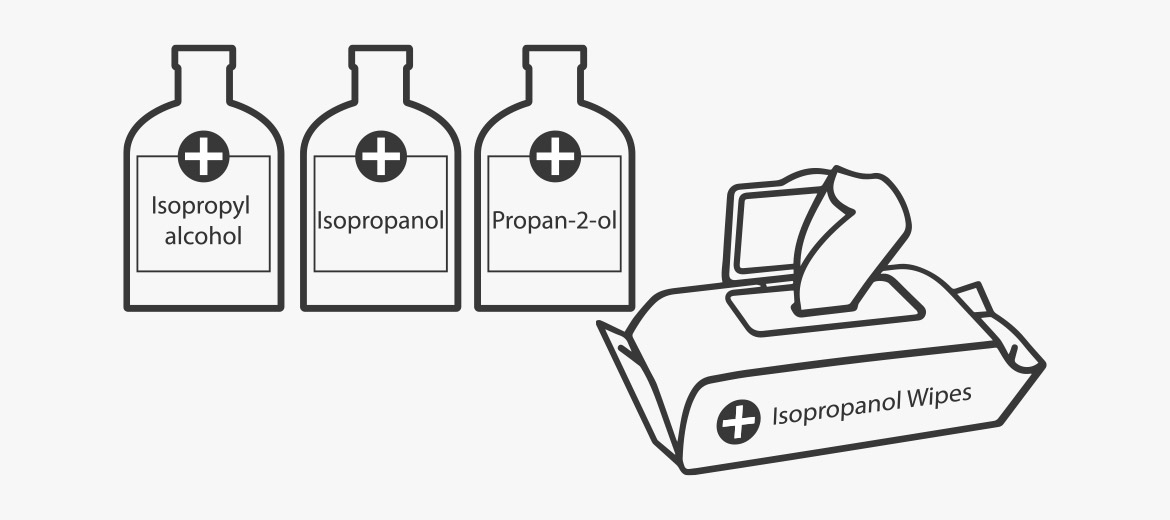
Please note: there is a difference between cleaning and disinfecting mics. Cleaning mics involves physically removing dirt and germs from the mic with soap and water. Disinfecting mics means killing germs with a proper chemical agent like an isopropyl alcohol and water solution* (on surfaces only). To ensure that your mics are clean and germ free, you should first clean them and then disinfect them when appropriate.
*Pure isopropyl alcohol evaporates too quickly on surfaces to kill germs. By adding 20% water, its disinfectant properties will be extended for enough time to work properly.
Miniature & subminiature lavaliers and headsets
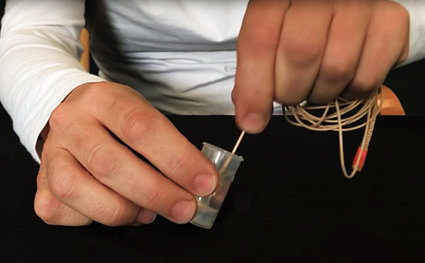
Error loading Partial View script (file: ~/Views/MacroPartials/TaggedProducts.cshtml)To clean these microphones, rinse them in demineralized water, and wipe them gently with a damp cloth. We have created short instructions on how to clean DPA Miniature, Subminiature, 4099 Instrument and Headset Microphone. These instructions work for both our omnidirectional and directional mics. To clean these mics properly, all grids, caps and foam windscreens should be removed. This allows for a proper rinse and for the water to evaporate fully when drying out. No cleaning fluids should be used - you will only need demineralized water.
Afterwards, leave the microphones to dry for 72 hours before reuse. Some germs die at high temperatures and it is possible to leave the mics in the oven at 60°C (140° F) for an hour (please note, this will age the microphone slightly)
To disinfect miniature and subminiature lavaliers and headset microphones, use a cloth moistened sparingly with an isopropyl alcohol and water solution* to wipe them down on their surface. This also applies to headsets, clips, booms, grids and adapters.
You can also use UV-C radiation to disinfect the microphones, but you must put a cap on the microphone head first. The membrane must be protected from UV-C radiation.
Error loading Partial View script (file: ~/Views/MacroPartials/TaggedProducts.cshtml) Please use a makeup cap for the miniatures and subminiatures.
6000 Series Subminiatures: DUA9501
4000 Series Miniatures: DUA0590 (omni) or DUA0591 (directional)
Please note that UVGI (ultraviolet germicidal irradiation) disinfection depends on line-of-sight, which means that the microphone head must be otherwise disinfected by e.g. wiping it off with an isopropyl alcohol solution as described above.
* Pure isopropyl alcohol evaporates too quickly on surfaces to kill germs. By adding 20% water, its disinfectant properties will be extended for enough time to work properly.
Handheld and pencil microphones
To clean these microphones, remove the grid if possible and clean it with lukewarm water and soap. After drying, replace it on the capsule. Wipe down the surface of the rest of the mic with a cloth moistened with water and soap.
Afterwards, leave the microphones to dry for 72 hours before reuse. Some germs die at high temperatures and it is possible to leave the mics in the oven at 60°C (140° F) for an hour (please note, this will age the microphone slightly).
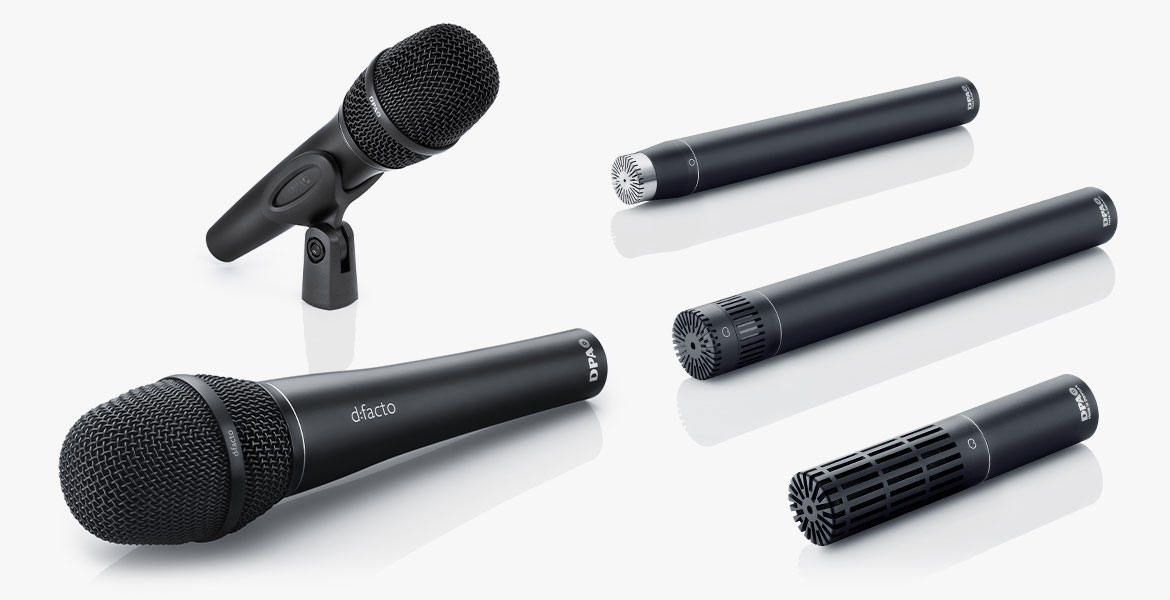
To disinfect handheld and pencil microphones, wipe down their surface with a cloth moistened sparingly with an isopropyl alcohol and water solution*. Make sure that no isopropyl alcohol comes into contact with the microphone membrane.
*Pure isopropyl alcohol evaporates too quickly on surfaces to kill germs. By adding 20% water, its disinfectant properties will be extended for enough time to work properly.
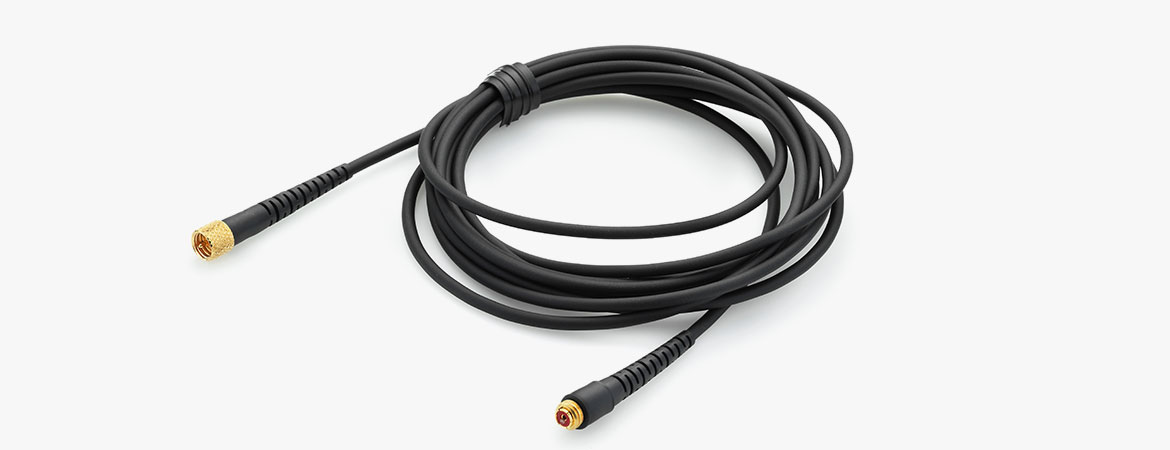
Cables
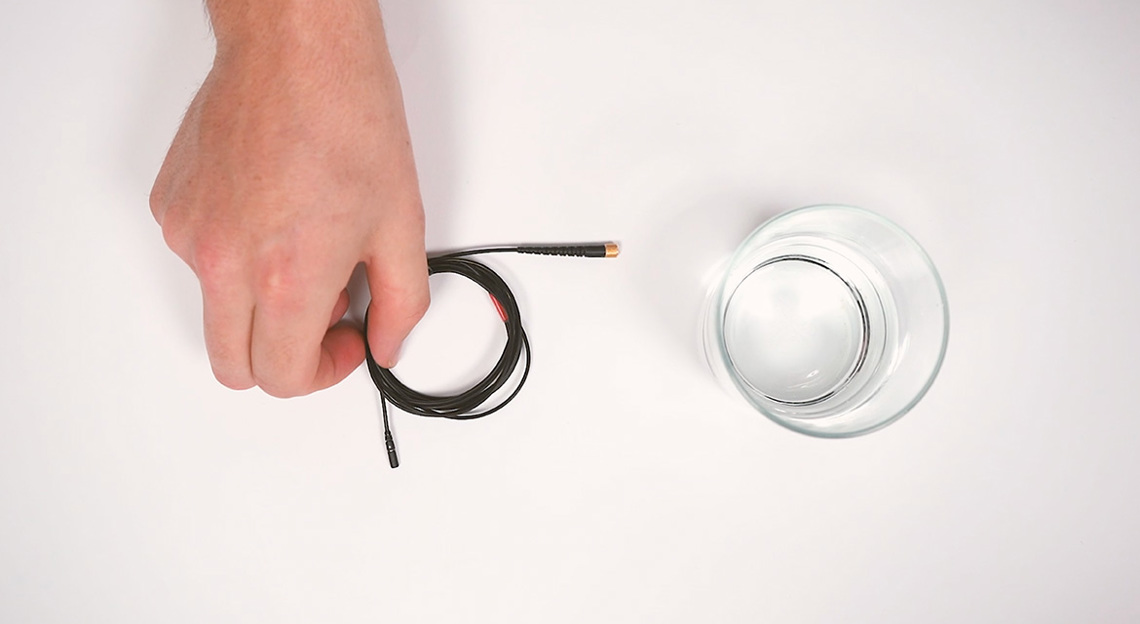
To clean cables, rub them gently with olive or coconut oil. This will remove residue like paint or sweat and will leave the cable hygienic and fit for use. Alternatively, wipe them with lukewarm water and soap. Do not splash soapy water into connectors or microphones. Afterwards, leave them to dry on their own for at least 72 hours – this will allow time for any germs to die.
Unfortunately, cables cannot be disinfected with isopropyl alcohol or other harsh chemicals, as this will make the cable jacket brittle over time. We recommend being very thorough when cleaning cables to remove as many germs as possible.
UV-C light is also known to kill germs. With a wavelength of 185-254 nm, UVGI (ultraviolet germicidal irradiation) kills or inactivates microorganisms by destroying nucleic acids and disrupting their DNA, leaving them unable to perform vital cellular functions. The performance and condition of our cables will not be affected by a UV-C treatment. Please note that UVGI disinfection depends on line-of-sight, so make sure to expose as much cable to the light as possible and repeat treatment if necessary. Observe instructions for use for your equipment and protect yourself from the harmful radiation.
Foam windscreens
To clean foam windscreens, both large and small, remove them from the mics and wash them gently with warm water and soap. Leave them to dry on their own for at least 72 hours – this will allow time for any germs to die.
Unfortunately, foam windscreens cannot be disinfected with isopropyl alcohol or other harsh chemicals. We recommend being very thorough when cleaning windscreens to remove as many germs as possible and leave them to dry for 72 hours. This will allow time for any germs to die.